

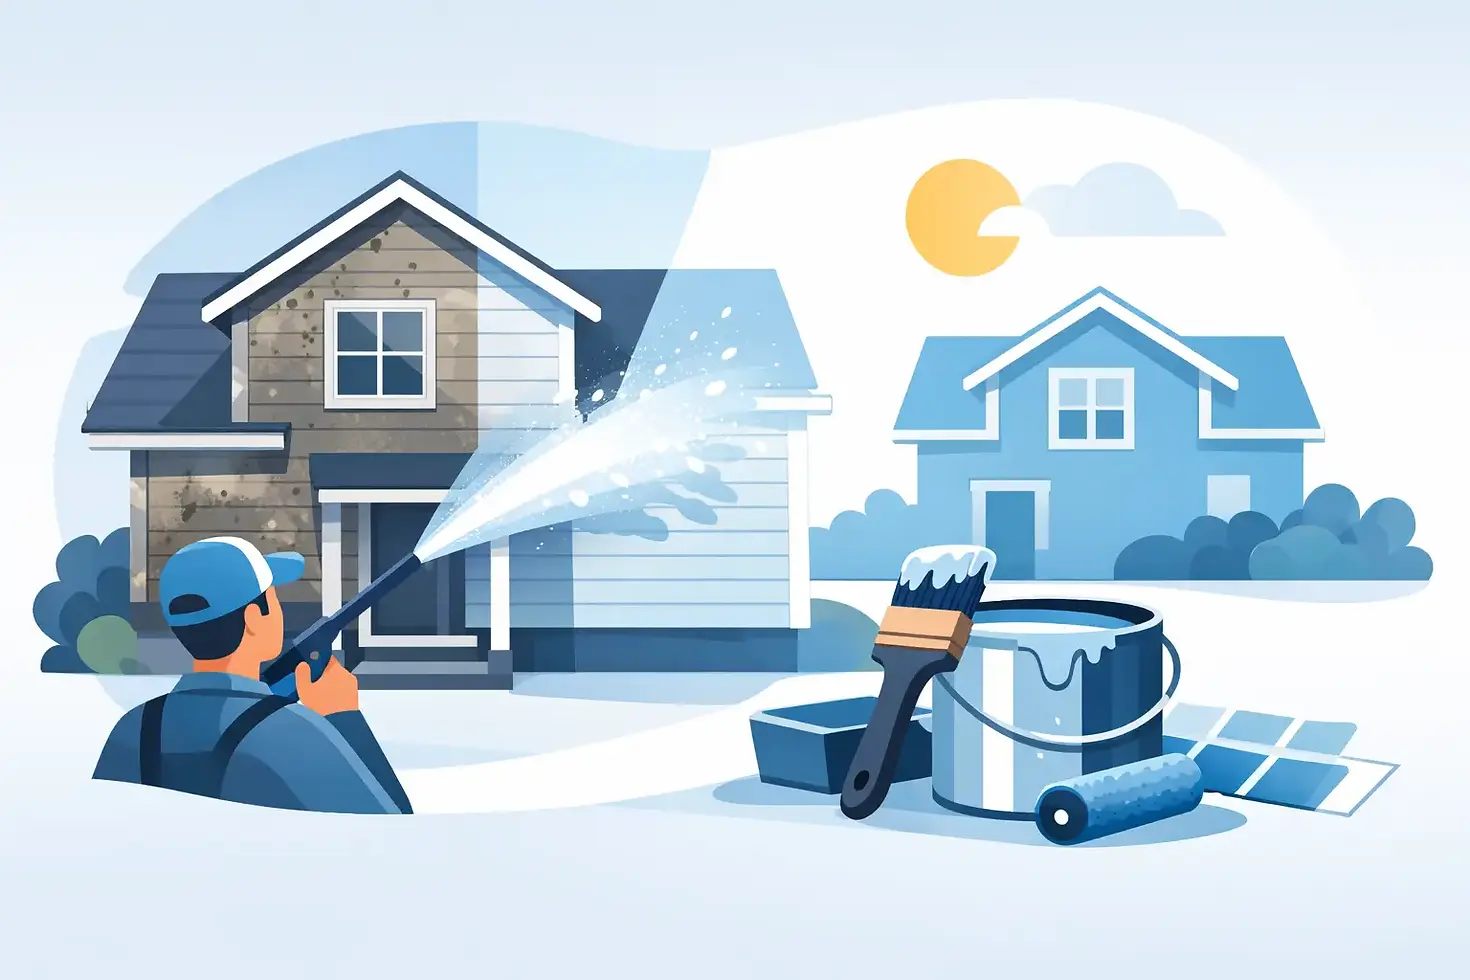
Why Pressure Washing Before Painting Pays Off
A fresh exterior paint job can look great on day one and still fail far too soon if the surface underneath is dirty. In South Carolina and Georgia, pollen, humidity, mildew, red clay, and everyday grime build up fast. Pressure washing before painting gives that new coating a clean surface to grip, helping protect the time and money you put into your property.
It is not just about making siding look cleaner. Proper prep removes the contaminants that can keep primer and paint from bonding. When it is handled correctly, washing is one of the smartest steps in a long-lasting exterior paint project.
Pressure Washing Before Painting Creates Better Adhesion
Paint needs a sound, clean surface. If dirt, chalky old paint, mildew, or spider webs are still on the siding, trim, brick, or concrete, the new paint is bonding to that buildup instead of the property itself. That is when you may see peeling, bubbling, or uneven coverage sooner than expected.
Exterior surfaces often collect more than homeowners realize. Pollen can leave a fine film that dulls paint adhesion. Mildew grows in shaded, damp areas around soffits, gutters, north-facing walls, and covered porches. Chalky residue develops as older paint breaks down under sun and weather. A professional wash clears away these problems before the coating work begins.
Washing also makes surface issues easier to spot. Once dirt is gone, loose paint, failing caulk, wood rot, cracks, and damaged trim are much more visible. That gives your painting crew the chance to make the right repairs instead of covering up a problem that will continue beneath fresh paint.
A Clean Surface Is Not the Same as a Damaged Surface
Pressure washing is effective, but more pressure is not always better. The goal is to clean the surface without forcing water behind siding, gouging wood, stripping sound paint, or damaging mortar joints. A trained crew adjusts the pressure, nozzle, distance, and cleaning method based on the material being cleaned.
Vinyl siding usually needs a lower-pressure approach than concrete. Wood siding and decks require extra care because aggressive pressure can raise the grain or leave visible marks. Older brick, stucco, and painted trim can also be damaged when the wrong technique is used. This is one reason a store-bought pressure washer and a Saturday afternoon can turn into more prep work than expected.
Mildew requires more than a quick rinse. It should be treated with the appropriate cleaning solution, then thoroughly rinsed away. Painting over living mildew can allow it to return through the new finish, leaving dark spots and putting the paint job at risk.
What a Proper Exterior Wash Should Remove
Before exterior painting, the surface should be free of the common troublemakers that interfere with a finish. These include:
Dirt, dust, pollen, and cobwebs
Mildew, algae, and organic staining
Chalky residue from aging paint
Loose or flaking paint that is ready to fail
Mud splatter, insect residue, and grime around doors, windows, and trim
A wash will not fix structural damage or make badly failing paint disappear. Scraping, sanding, caulking, patching, and priming are still part of a quality preparation process. Pressure washing is the first cleanup step, not a replacement for the rest of the work.
How Long Should You Wait to Paint After Washing?
The short answer is: until the surfaces are fully dry. In many cases, that means waiting at least 24 to 48 hours. However, weather, shade, humidity, material type, and how much water the surface absorbed all matter.
A sunny, breezy day may dry vinyl siding quickly, while shaded wood trim or porous masonry can hold moisture longer. South Carolina and Georgia humidity can slow the process, especially after rain or during muggy summer weather. Painting too soon can trap moisture beneath the coating, which may lead to peeling, blistering, or premature failure.
A dependable painting contractor watches the forecast and schedules prep with drying time in mind. Rushing from wash to paint just to finish a job faster is not good workmanship. The surface should feel dry, and the crew should check areas that stay damp longer, such as behind shutters, around gutters, under porch roofs, and near landscaping.
When Washing Is Necessary and When It Depends
Most exterior repainting projects benefit from washing, especially if the home has visible dirt, pollen, mildew, or chalking. It is generally a must for siding, trim, decks, fences, storefronts, and buildings exposed to traffic dust or heavy weather.
There are a few situations where the method needs to change. Delicate historic materials, crumbling mortar, severely weathered wood, and areas with failing surfaces may call for soft washing, hand cleaning, or limited pressure. The best approach depends on the material and its condition, not a one-size-fits-all setting.
If your property was built before 1978 and has peeling paint, lead-safe work practices should also be part of the conversation. Disturbing old paint takes extra care to protect occupants, workers, and the surrounding property.
Do Not Skip Repairs After the Wash
A clean wall is easier to inspect, and that inspection matters. Once the washing is complete and the surface dries, the next steps often include scraping loose paint, sanding rough edges, replacing rotten boards, sealing gaps, and spot-priming exposed areas.
Caulk is especially valuable around windows, doors, trim joints, and small exterior cracks. It helps keep water out and gives the finished job a cleaner appearance. Primer is used where bare wood, repaired areas, stains, or exposed substrates need a dependable base coat.
These details are where paint jobs separate themselves. A good topcoat cannot make up for wet wood, loose paint, or open gaps. Lasting results come from preparation, the right products, and careful application in the right conditions.
Why DIY Pressure Washing Can Create Problems
Homeowners can absolutely handle light exterior cleaning, but painting prep has a higher standard. A pressure washer can break window seals, scar decking, strip too much paint, drive water into wall cavities, or damage landscaping when used incorrectly. Cleaning solutions can also affect plants if they are not applied and rinsed carefully.
There is also the timing issue. If you wash the home and then a storm rolls through, pollen returns, or the surfaces do not dry completely, the painting schedule may need to change. A professional crew plans for these variables instead of treating prep as an afterthought.
For occupied homes, businesses, churches, schools, and rental properties, a clean work area matters too. The right team protects landscaping, communicates clearly about access and drying time, and leaves the site orderly. At A Couple Of Painters, LLC, that same respect for your property carries from surface preparation through the final coat.
Get the Timing Right for a Better Finish
The best time to pressure wash is close enough to painting that the surface stays clean, but early enough to allow a full drying period and any needed repairs. Your contractor should consider rain, humidity, temperature, direct sun, and the condition of the existing finish before setting the schedule.
If you are planning an exterior refresh, ask how the contractor handles cleaning, mildew treatment, drying time, repairs, and primer. Clear answers are a good sign that the crew is focused on a paint job that lasts, not just one that looks good for a quick photo.
Your home or business deserves more than paint applied over yesterday's grime. Start with a clean, dry, properly prepared surface, and you give every coat a better chance to protect your property and keep it looking cared for.


Comments